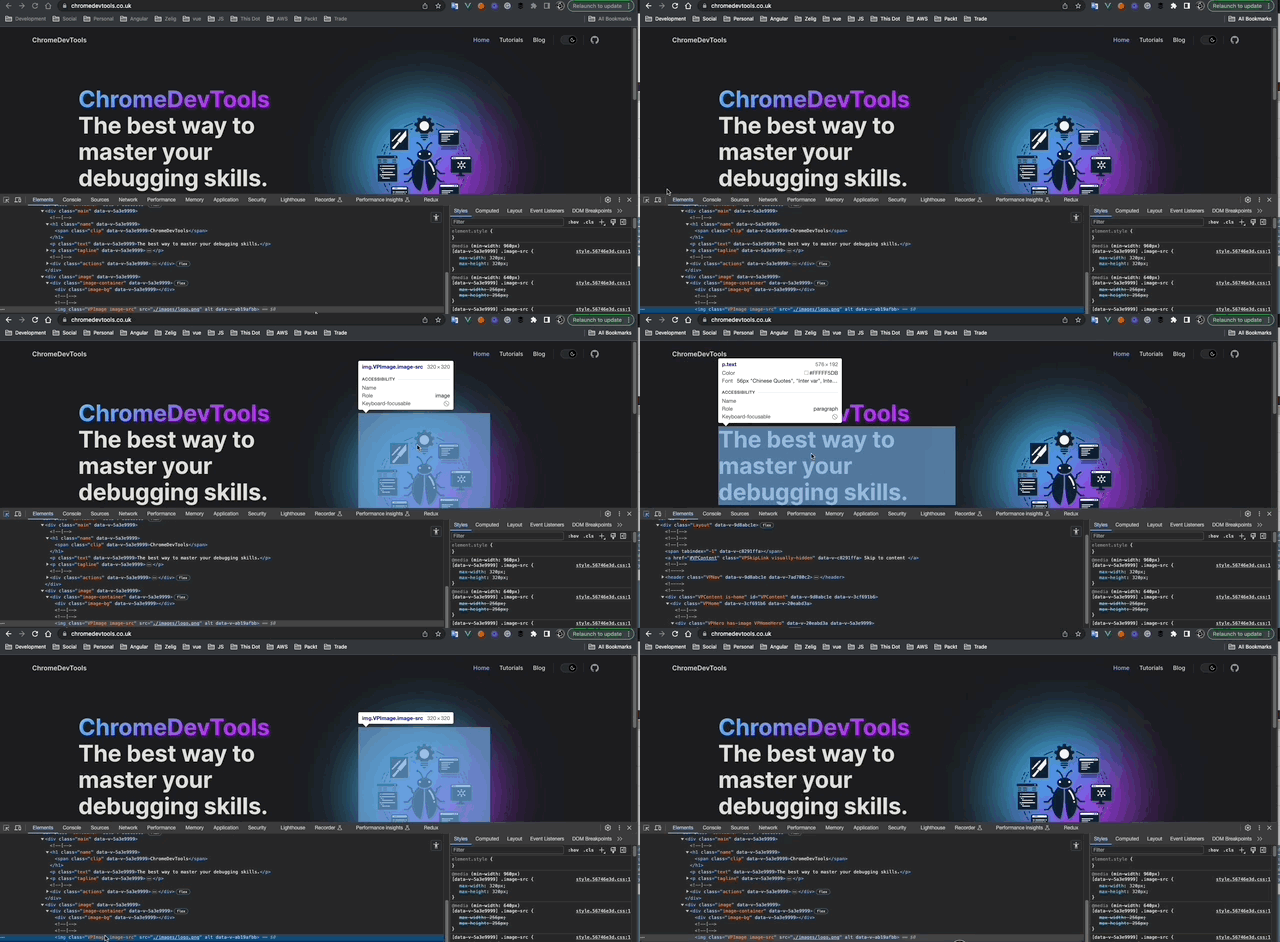
Select an Element within the Page
The "Select an element within the page" functionality in the Chrome Debugger's Elements tab is a powerful tool for inspecting and interacting with specific elements on a web page. To use this feature, simply navigate to the Elements tab, and click on the icon resembling a cursor in the top-left corner. Once activated, hover over any element on the rendered page, and it will be highlighted in the Elements panel.
Select an Element functionality in practice

As the above GIF, this command allows you to quickly select an element within the DOM three. By enabiling it, the mouse will now show basic sizing, padding and margin information around the element that we are currenly hovering. Finally clicking on the element will actually "select" the DOM item equivalent.
This functionality is invaluable for precisely identifying and inspecting elements, especially in complex or dynamically generated web pages. It provides a seamless way to understand the structure and styling of individual elements. Using this feature will save you time and energy.
How to Use
- Open the Chrome Debugger and navigate to the Elements tab.
- Click on the "Select an element within the page" icon (a cursor) in the top-left corner of the Elements panel.
- Hover over the desired element on the page.
Keyboard Shortcut
Additionally, you can activate this feature quickly using the keyboard shortcut: Ctrl + Shift + C (Windows/Linux) or Command + Option + C (Mac).
This functionality streamlines the process of inspecting and manipulating elements, enhancing the efficiency of web development tasks. Whether tweaking styles, debugging layout issues, or understanding the structure of a page, the "Select an element within the page" feature proves to be an indispensable asset in the Chrome Debugger.